Sweet Fern: Foraged Fiddleheads
I’ve always loved the idea of gathering edible goodies from nature. Foraging for food is as old as humankind, and it’s really only in the last few decades that Western civilization has gotten away from it. The idea of going out into the woods, or even your own backyard and finding something wild to eat has become foreign to us- if it’s not prepackaged and sold at the store, it must not be edible!
Thankfully, foraging is making a comeback, and I am happy to oblige! Especially when it is something so simple and readily available as fiddlehead (or ostrich) ferns. During the Depression, and at almost all times in human history, foraged food from the woods and fields made up a good part of one’s diet. Besides what was grown in a kitchen garden, much fresh produce was found this way. If you didn’t have a real source of income and lived in a rural area, shopping daily or weekly for produce was out of the question.
Most families got by on what they had put up over the winter, but at the approach of spring, green shoots of fiddlehead ferns, wild asparagus, rhubarb and wild onions were no doubt looked upon eagerly.
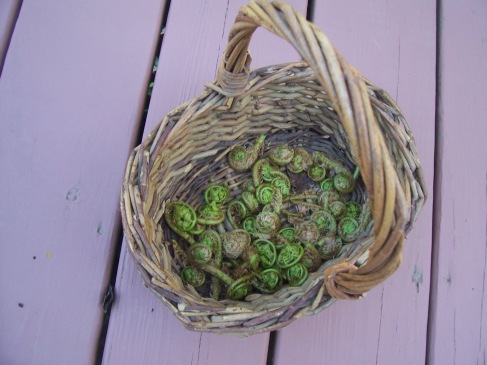
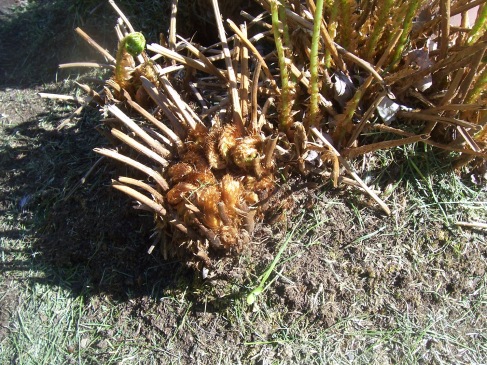
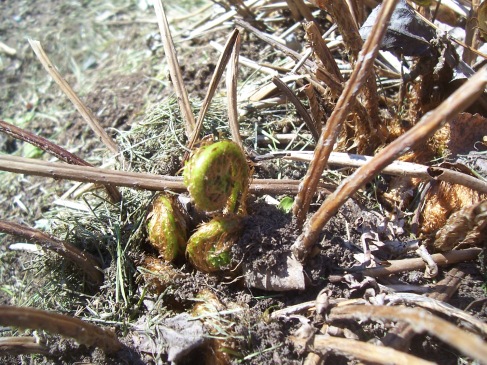
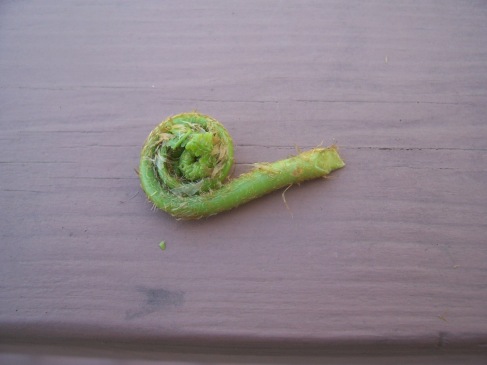
These fiddleheads are just waking up- not quite ready to pick, but you can recognize them and watch for a couple of days until they look like these:
Just snap them off where they come out of the ground- no knife needed!
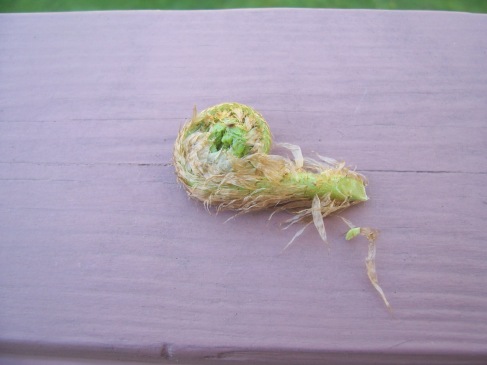
Peel the brown papery skin off.
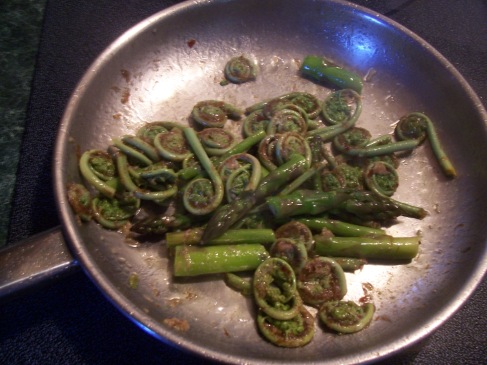
Saute in a little olive oil and garlic. I added a few shoots of wild asparagus as well. (Wild asparagus looks just like domestic asparagus- look for it’s distinctive fern-like foliage later on in the year and mark the location in your memory for next spring!)
As a side note, perhaps you have noticed that I am doing my best to reference Depression-era songs in all the post titles for this blog. “Sweet Fern” was a song sung by the Carter Family (of June Carter Cash fame), recorded in 1929, and available for download here: http://www.amazon.com/Sweet-Fern/dp/B0013EVSEE
How to be a Butter and Egg Man
Those of you who follow my other blog (http://practiceintime.blogspot.com/) know that I am very much interested in homesteading and self-sufficiency. Of course, this dovetails nicely with a Depression-era lifestyle. I try to be as hands-on with my food as possible; knowing the sources and cooking from scratch as much as possible.
We hunt and fish for our meat, and I garden, forage and preserve most of our produce. One of the few areas in which I rely on the market is for dairy products. At the moment it is not possible for us to have a homegrown source for our milk, cheese and butter, so I have to make do with store-bought.
A Depression-era housewife without access to her own milk cow or goat would have had deliveries from the milkman. While we sadly no longer have access to that convenience (my father-in-law was a milkman and my husband’s uncle owned a dairy) I am hoping it will make a comeback someday!
Back in the 1930s, before one could pop into the local 7-11 for a plastic gallon of skim milk, we would have had four quarts of whole milk in glass bottles delivered to our doorstep early in the morning. This milk would have been full fat and with a layer of cream on top. This single product would have supplied the housewife with 5 different items: milk, heavy cream, ice cream, buttermilk and butter.
How is that? Well, by skimming the cream off the top, you are left with the milk and the cream. If you don’t make ice cream in a hand crank freezer, you can churn the cream, to create butter and buttermilk. And churning the cream is a lot easier than you might think!
It’s so easy I let my kids do it. I purchased a quart of heavy cream in place of the product I would have skimmed off the top of my natural milk. (Light cream will not work.) I poured about a 1 1/2 cups of it into a clean quart mason jar with a lid. Then I let me kids take turns shaking it to churn it. This is not a quick process, so having a few extra hands to pass the jar around helps. We started churning about 6 pm, and after about half an hour we had whipped cream in the jar. I scooped a little of that out, added a tiny bit of sugar and used it to top our strawberries at dessert!
After about another hour, the whipped cream starts to solidify and all of a sudden it will become a soft ball of butter. It is clearly visible in the jar- a ball of light yellow butter inside about a cup of buttermilk. Pour off the buttermilk to use in your pancakes or biscuits and place the ball of butter in a cold glass bowl. Add a few cups of cold water and gently knead the butterball to release the remaining buttermilk. (If you don’t rinse the butter, the remaining buttermilk- an acid- will cause the butter to spoil quickly.) Discard that water and keep adding fresh water until the butter no longer releases a milky-colored water.
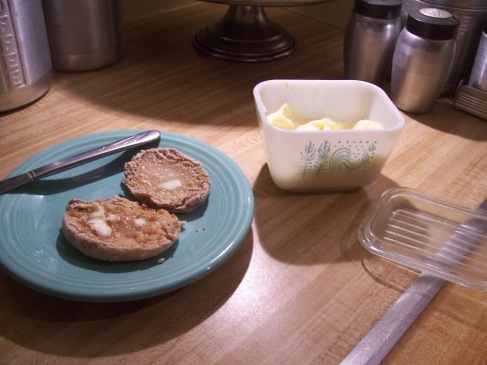
At this point, you could add a tiny bit of salt to make salted butter or herbs or roasted garlic to make flavored butter. Put the homemade butter in a small glass container (like my Pyrex Fridgie!) or wrap it in wax paper and store in the fridge or freezer. I topped some of my homemade English muffins (recipe here) with homemade butter, and the taste was unbelievable!
For more info and much more detail on the scientific aspects of home-churned butter, see one of my favorite websites: http://www.cookingforengineers.com/article/113/Making-Butter
